How to Apply LUTs in Final Cut Pro
Using LUTs (Look-Up Tables) in Final Cut Pro is a simple and effective way to improve the overall visual quality of your video projects. LUTs can be an effective tool for modifying the color and tone of your existing film, resulting in a more professional and cinematic image. This guide will give you with all of the information you need to apply LUTs in Final Cut Pro and obtain excellent results with reasonable ease.
What Are LUTs and Why Use Them?
LUTs, or look-up tables, are mathematical equations that change the colors you see in your video footage. Typically, you’d use a LUT for color grading, which is the process of changing and enhancing the color of a motion picture, video image, or still image. When you apply LUTs, you get to:
- Consistently apply a desired look across multiple clips.
- Simplify the color grading process, especially for beginners.
- Achieve professional-quality results quickly and efficiently.
Types of LUTs
In video editing, two main kinds of LUTs are utilized:
- Technical LUTs: These are used to change your footage’s color space to conform to a particular standard. For example, you can convert log footage to Rec. 709.
- Creative LUTs: These are used to give your footage a particular artistic look, like a stylized color grade or a cinematic film look.
Getting your video Ready
In Final Cut Pro, make sure your footage is ready before applying LUTs:
- Import your footage then arrange it in the timeline in Final Cut Pro.
- Adjust the exposure and white balance to make sure your footage is properly balanced by adjusting the exposure and white balance. This aids in getting the most out of the LUT.
Applying LUTs in Final Cut Pro
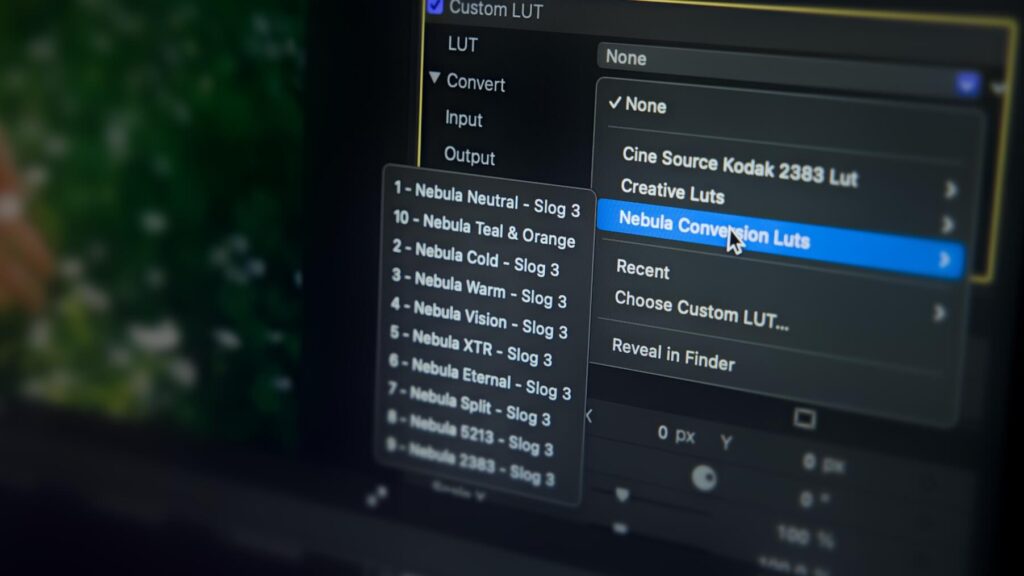
Step 1: Import Your LUTs
LUTs must first be imported into Final Cut Pro in order to be applied:
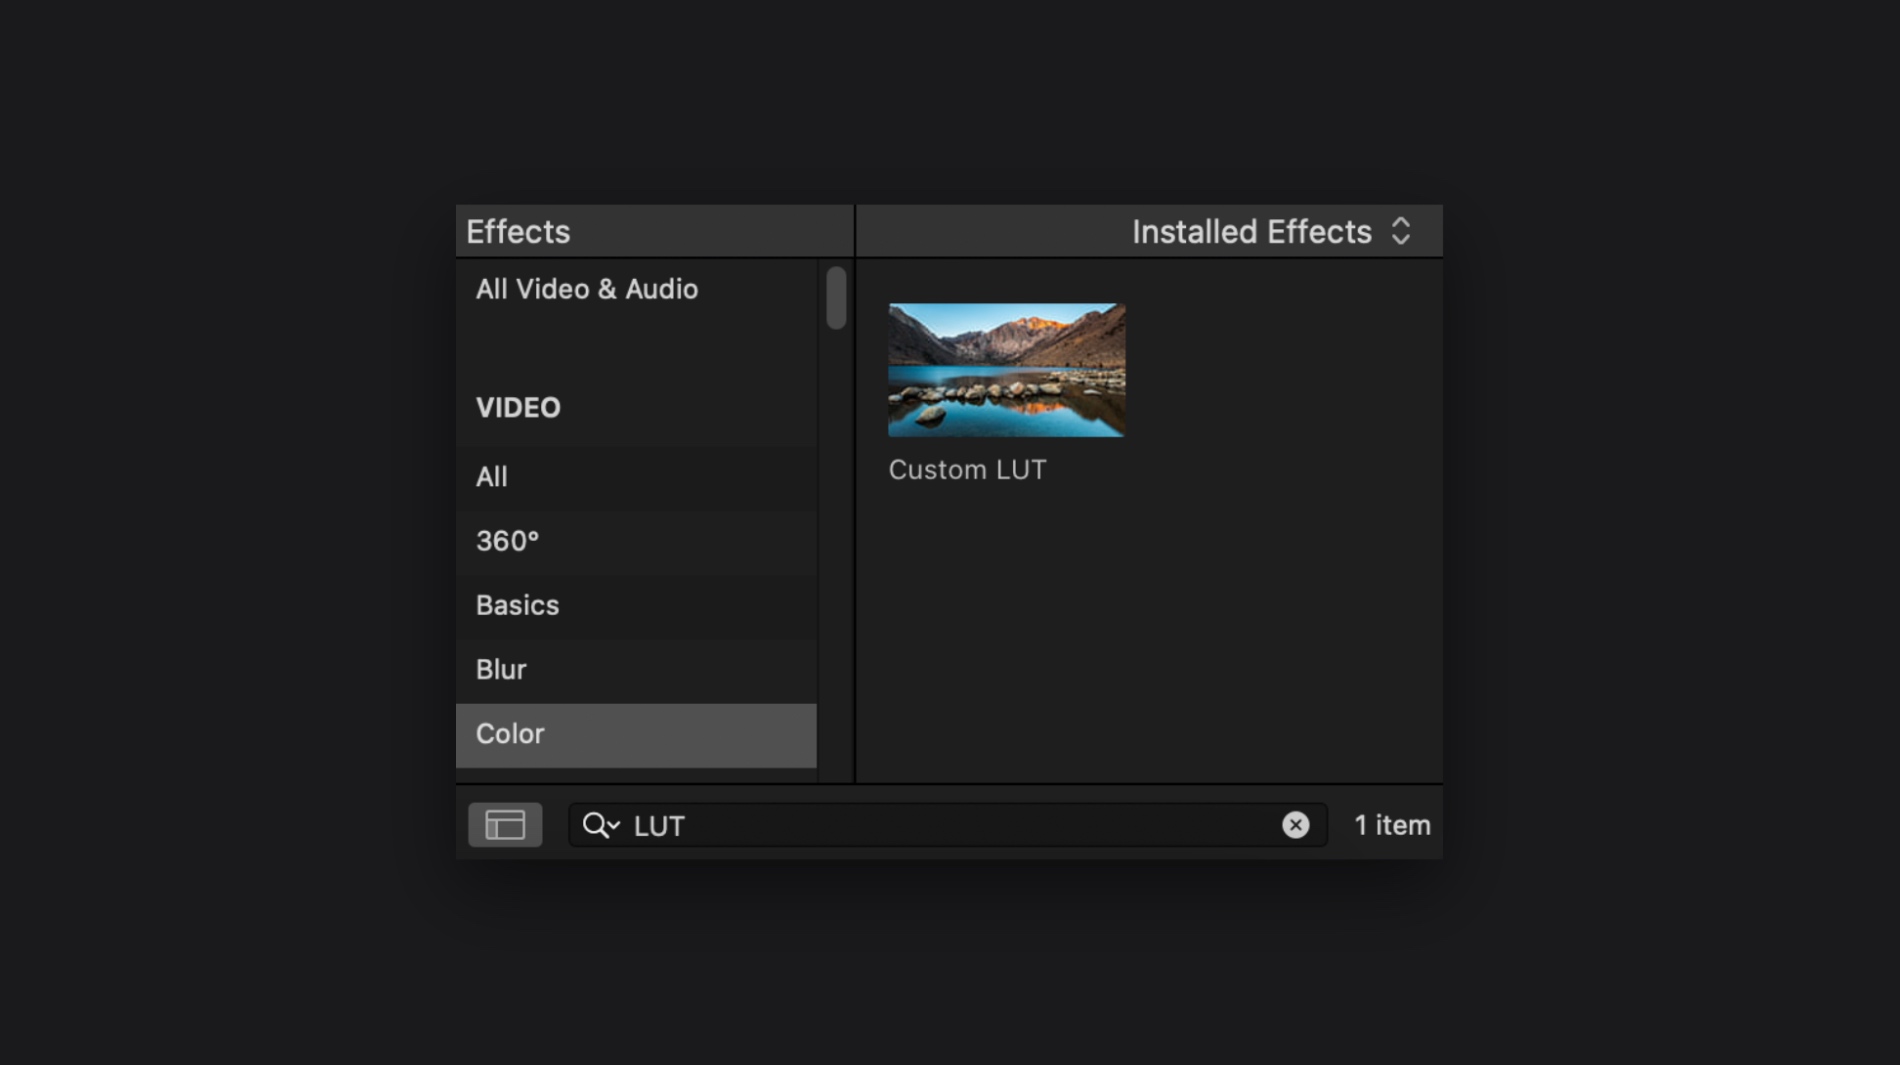
- Open Final Cut Pro and navigate to the Effects Browser.
- Scroll down and select Custom LUT from the list of effects.
- Drag and drop the Custom LUT effect onto your desired clip in the timeline.
Step 2: Choosing and Applying the LUT
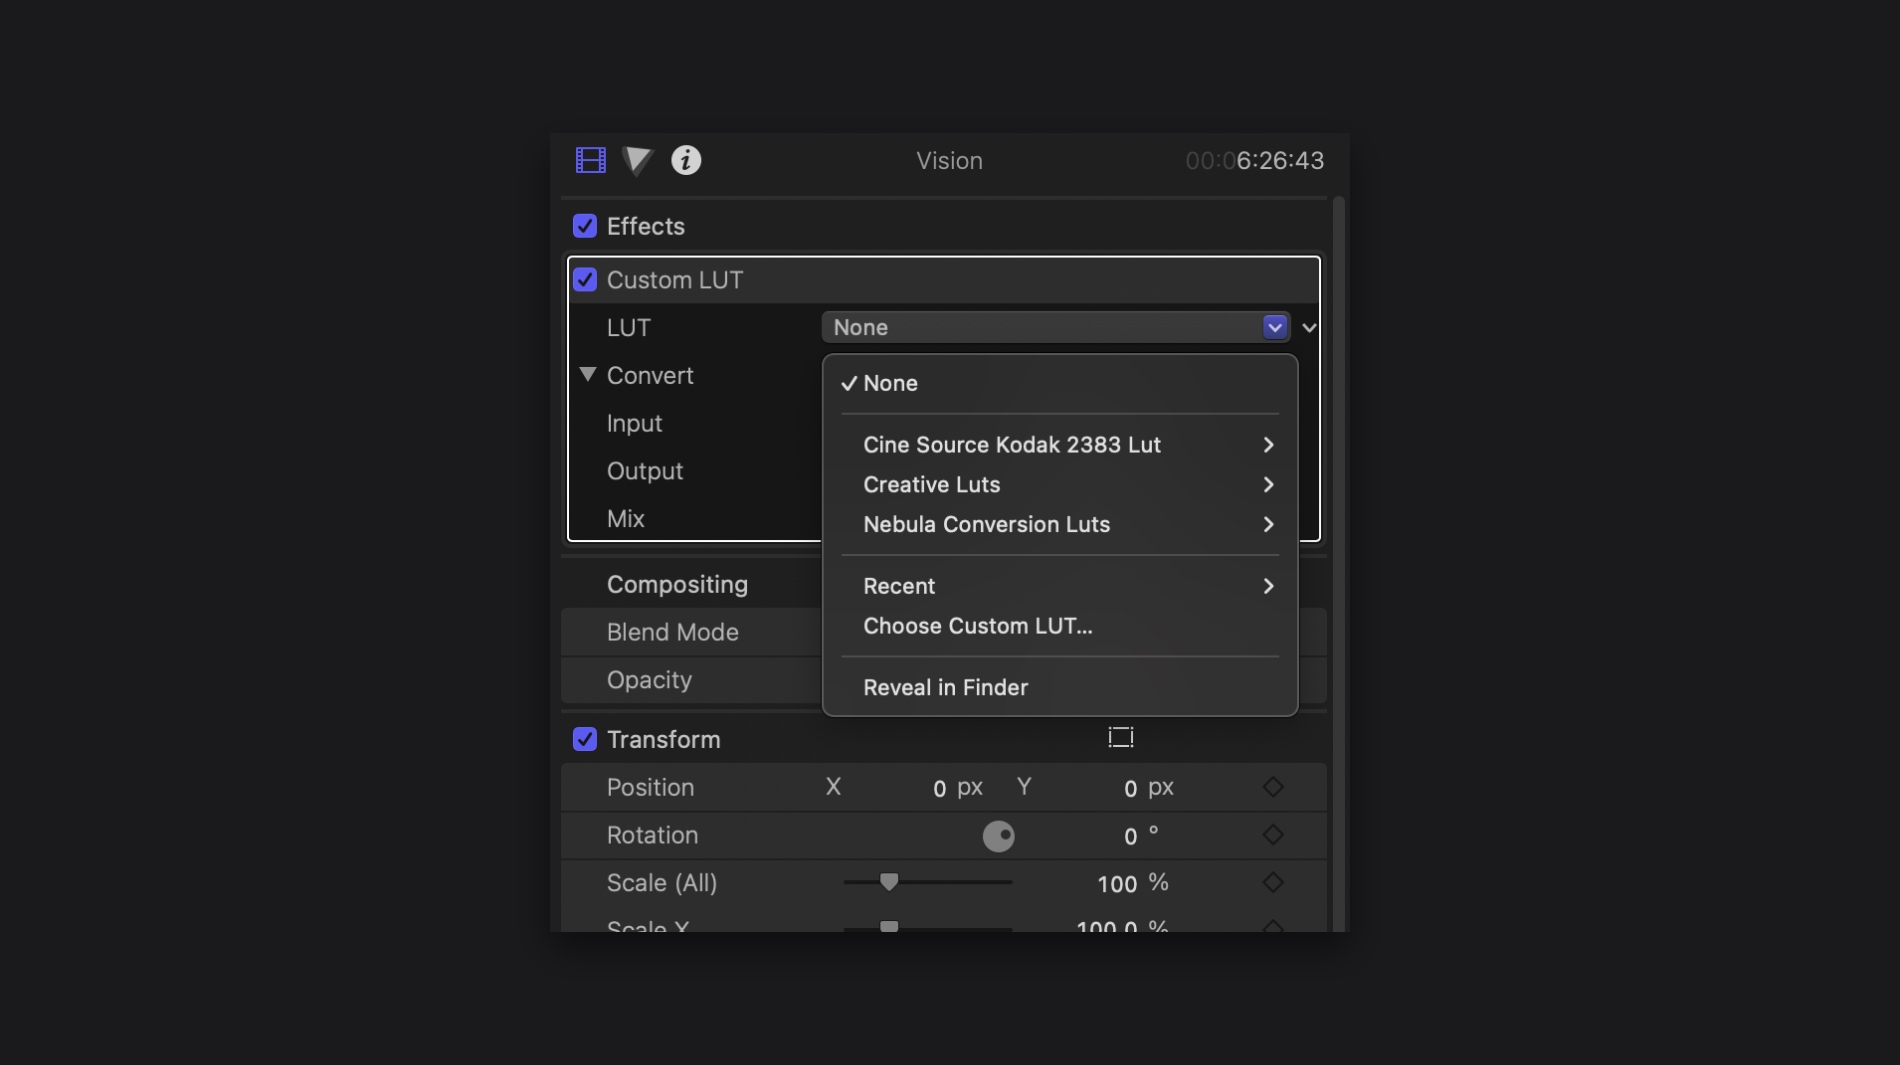
Once the Custom LUT effect has been added, you can select and use your LUT:
- With the clip selected, go to the Inspector panel on the right side of the screen.
- In the Video Inspector, find the LUT section.
- Click on the Choose LUT button.
- A file browser window will open. Navigate to the location of your LUT files, select the desired LUT, and click Open.
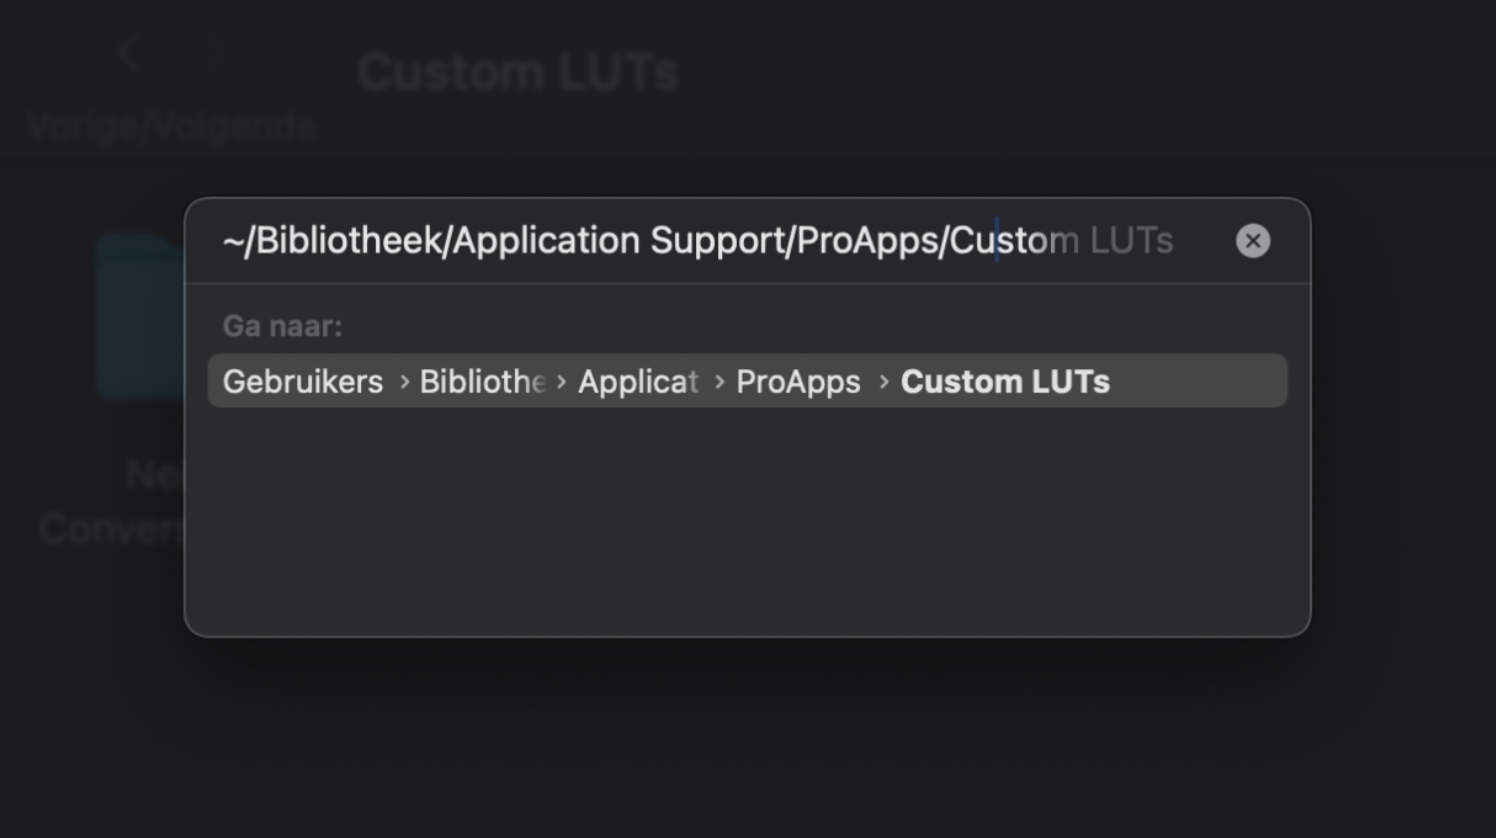
Finding the Path of the LUT File
LUTs must first be imported into the LUT Folder in order to be applied. This is the path to the file:
To open this folder, follow these steps:
- Open Finder.
- Press
Shift-Command-G to open the “Go to the folder…” dialog. - Copy and paste the above path into the text box and press Enter.
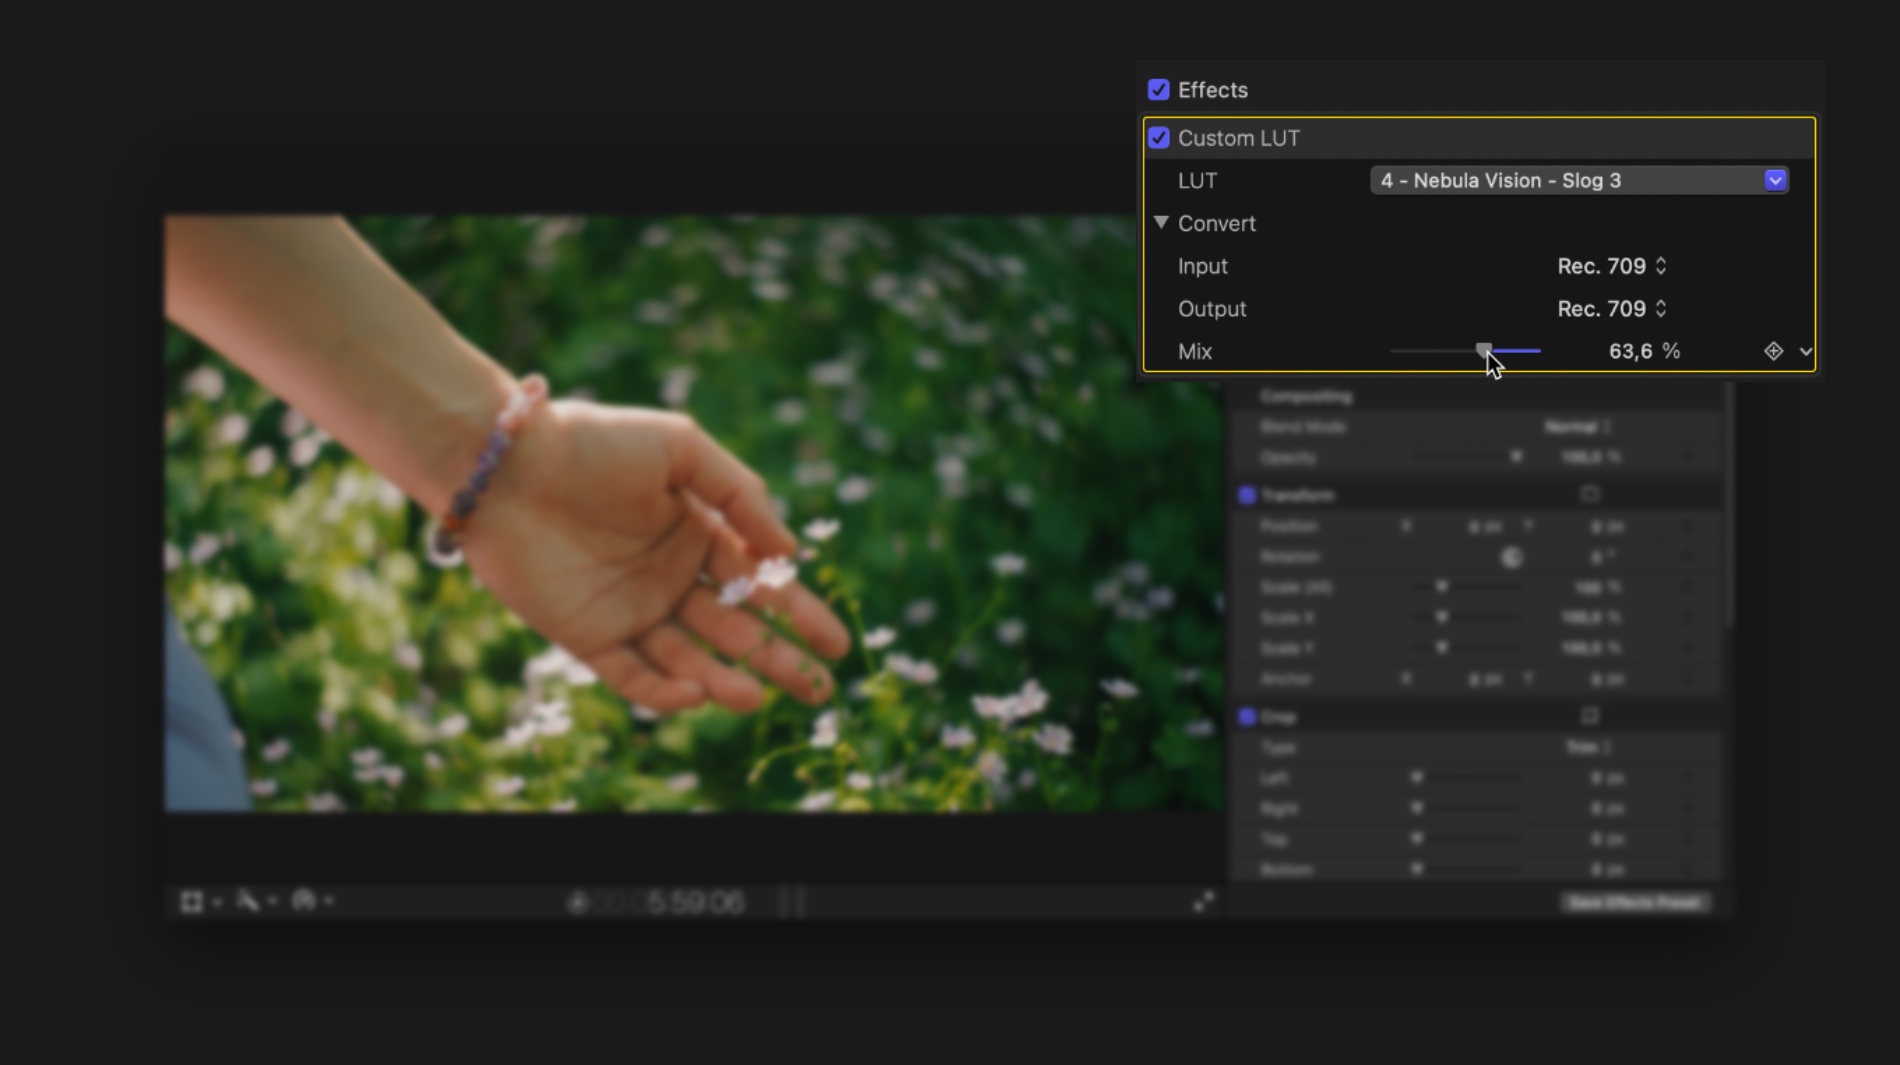
Step 3: Adjusting the LUT
After applying the LUT, you may need to make some tweaks to fine-tune the image:
- Strength: Use the strength slider to modify the severity of the LUT effect. A lower number mixes the LUT with the original footage, whereas a greater value makes the LUT more prominent.
- Exposure and Color Adjustments: To further refine the look, use the Color Inspector and change the exposure, highlights, shadows, midtones, and color parameters.

Advanced Techniques for Using LUTs
Applying LUTs to Multiple Clips
To ensure consistency between multiple clips:
- Apply the Custom LUT effect to the first clip, then make any necessary adjustments.
- Copy the clip by pressing Command+C.
- Select the other clips which you want to apply the same LUT on.
- Paste attributes by pressing Command+Shift+V and select the Color Effects from the list.
Using Adjustment Layers
Adjustment layers can be an effective way to apply LUTs to multiple clips:
- Create a new adjustment layer by navigating to the Titles and Generators Browser.
- Drag the Adjustment Layer onto the timeline above your clips.
- Apply the Custom LUT effect to the adjustment layer and select your LUT.
- This will apply the LUT to all clips beneath the adjustment layer.
Tips for Best Results
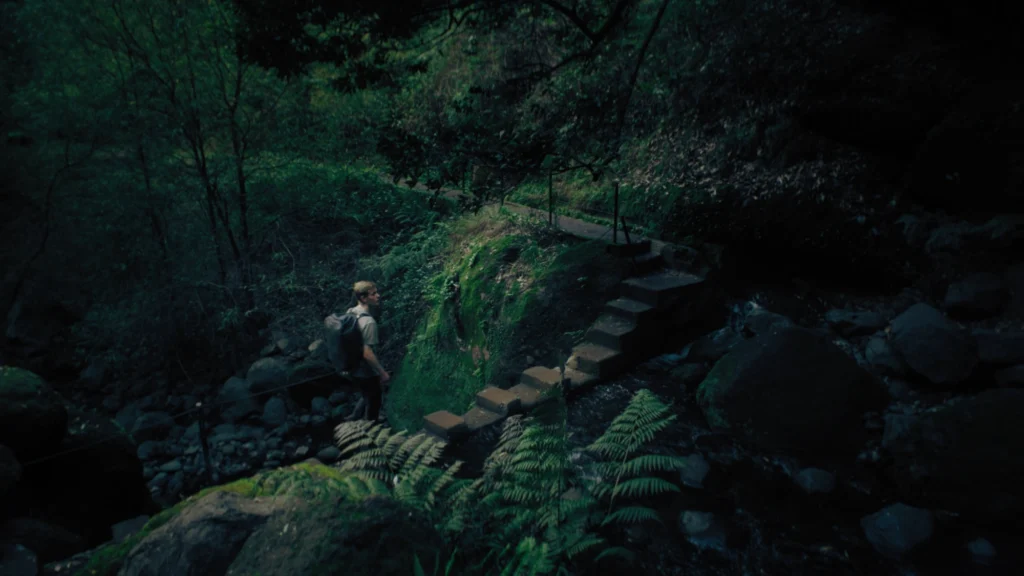
Start with Quality Footage
LUTs work best when used with high-quality footage. To make the LUT work best, make sure your footage is well-lit and shot in a high dynamic range format, such as log or RAW.
Experiment with Different LUTs
Don’t be afraid to experiment with different LUTs to find the one that best suits your project. Many LUTs are available for free or purchase, and each can provide a unique look.
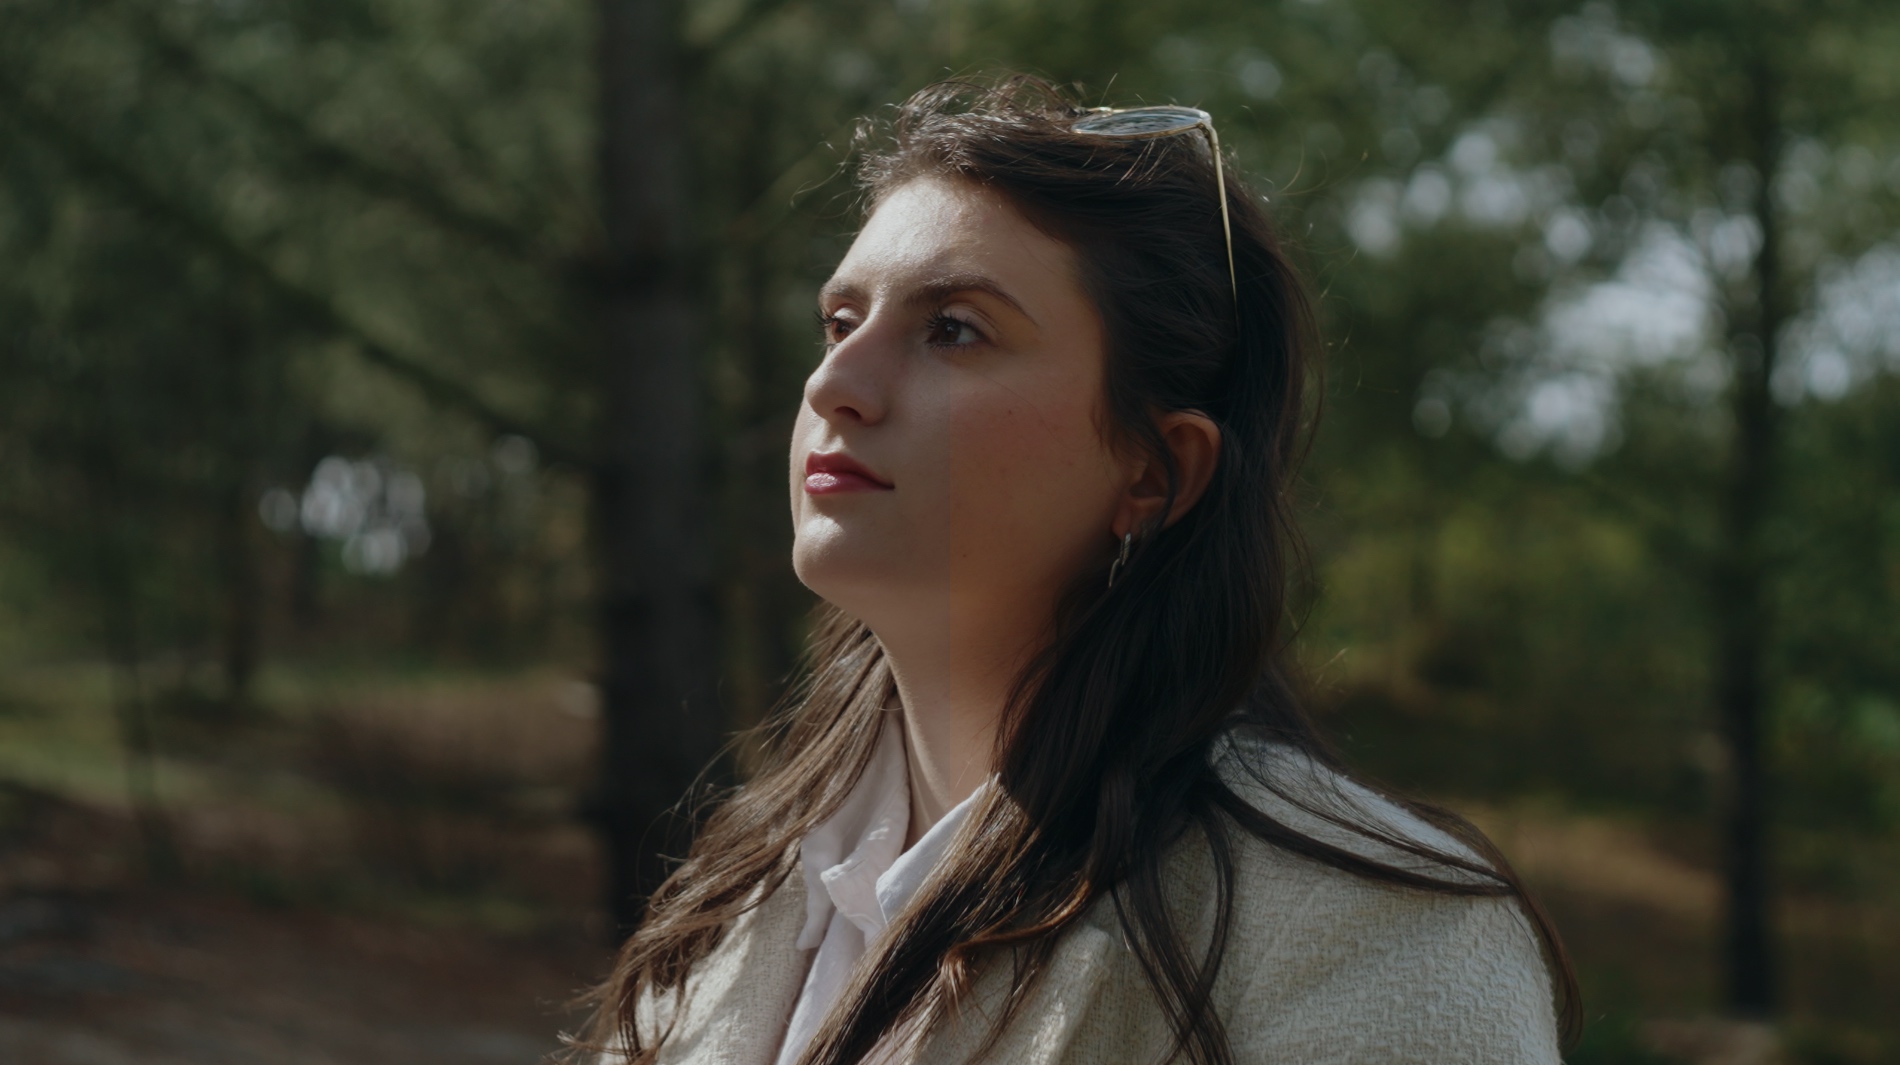
Combine LUTs with Manual Grading
While LUTs can provide a great starting point, combining them with manual color grading adjustments can help you achieve a more refined and unique look.
Monitor Your Output
Always check your final output on different screens and devices to ensure the color grade looks good across various platforms. This helps in maintaining consistency and quality in your final product.
Frequently Asked Questions
Conclusion
Applying LUTs in Final Cut Pro is a straightforward yet powerful way to enhance the visual quality of your videos. By following the steps outlined in this guide, you can efficiently import, apply, and adjust LUTs to achieve professional-grade results.
Experiment with different LUTs and fine-tune your color grading to create visually stunning videos that stand out.